
How To
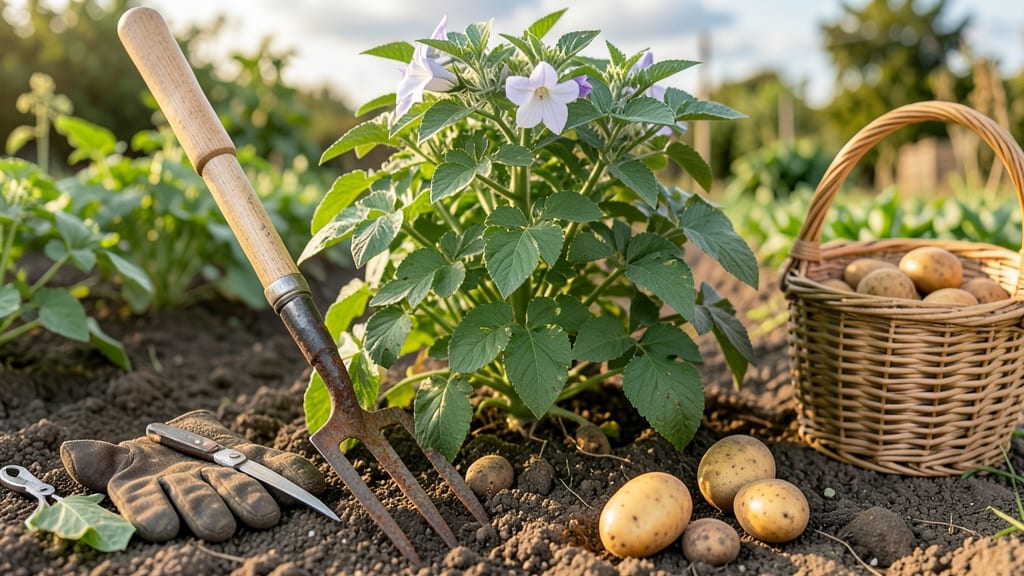
Harvest fingerling potatoes when the skin toughens and tops begin to yellow 🥔 — timing this right means the difference between tender, flavorful tubers and tough, starchy ones.
Picture this: you’ve waited months for those adorable, slender tubers to mature, only to dig too early and find underdeveloped potatoes, or too late and watch them shrivel in the soil.
The key is catching them at peak readiness, when the foliage yellows and the skin resists a gentle thumbnail press.
In Zone 6a, that usually falls between mid-July and August, but soil temperature and weather can shift that window. Too soon, and you’ll miss the sweetness; too late, and storage quality suffers. Here’s how to read your plants—and the soil—to nail that perfect harvest moment.
You’ll learn the three visual cues to watch for, how to handle them without bruising, and the one mistake that turns great potatoes into mush. Let’s get digging!


How to tell when fingerling potatoes are ready for harvest
Harvesting fingerling potatoes at the right moment transforms your garden into a treasure trove of buttery, flavorful tubers. Unlike their larger cousins, fingerlings mature faster and show subtle cues when they're ready.
Miss the window, and you might end up with underdeveloped potatoes or tough, woody skins. The key lies in combining visual clues, tactile tests, and understanding your local climate.
Most fingerling varieties reach harvest readiness between 60-90 days after planting, but this timeline shifts with your USDA hardiness zone and soil conditions. In warmer climates (zones 8-10), you might harvest as early as late June, while gardeners in cooler zones (3-6) should plan for mid-to-late August.
Paying attention to these seasonal variations ensures you don't dig too soon or too late.
Visual cues are your first line of defense. Start by observing the plant foliage—when the tops begin to yellow and die back, it's a classic sign that the tubers below are maturing. However, don't wait until the plants are completely brown, as this can indicate over-maturity and reduced flavor. Additionally, check for flower blooms—if they appear, harvest within 2-3 weeks to avoid woodiness.
Next, perform a simple skin toughness test. Gently press a thumbnail into the smallest tubers near the soil surface. If the skin resists piercing, the potatoes are ready.
For larger varieties, aim for a 1-2 inch diameter—any smaller, and they'll be underdeveloped; any larger, and they may become tough. This tactile check is especially useful for early-season varieties like 'French Fingerling' or 'Purple Peruvian'.
Soil temperature plays a critical role in harvest timing. Fingerlings thrive when soil temperatures hover between 60-75°F. If your region experiences hot summer spells, harvest slightly earlier to prevent skin toughening or sprouting.
Conversely, in cooler climates, wait until the soil warms consistently to avoid chilling injuries to the tubers. Use a soil thermometer for accuracy, especially if you're new to growing potatoes.
Don't overlook the soil moisture around your plants. When the top 2-3 inches of soil feel dry to the touch, it's often a sign that the potatoes are nearing maturity. This dryness indicates the plant has shifted its energy from foliage growth to tuber development.
However, avoid letting the soil become bone-dry, as this can stress the plants and reduce yield. A lightly moist but well-draining soil is ideal throughout the growing season.
| Cue | Description | Action | Best For |
|---|---|---|---|
| Foliage Color | Tops turn yellow and begin to die back | Harvest within 1-2 weeks | All varieties |
| Skin Toughness | Skin resists thumbnail pressure | Dig immediately for best flavor | Early varieties |
| Tuber Size | 1-2 inches in diameter | Harvest for peak texture | Medium-late varieties |
| Soil Temperature | 60-75°F consistently | Monitor with thermometer | All climates |
| Flower Blooms | Flowers appear and fade | Harvest in 2-3 weeks | Late varieties |
| Soil Dryness | Top 2-3 inches dry to touch | Prepare to harvest soon | Dry climates |
Seasonal timing varies dramatically by region. In northern climates (zones 3-5), aim to harvest fingerlings before the first frost date, typically by late September. In contrast, southern gardens (zones 8-10) can extend the harvest into October or even November, provided soil temperatures remain mild.
Always check your local frost dates and adjust your harvest schedule
Best practices for harvesting fingerling potatoes without damaging tubers
Once your fingerling potatoes signal readiness with yellowing foliage and toughened skins, the next critical step is harvesting them carefully. A rough extraction can bruise tubers, inviting rot and reducing storage life. The key is patience and precision—gentle handling preserves both flavor and texture.
I’ve learned from experience that even a slight drop can turn a perfect harvest into a disappointing one, so let’s break this down into foolproof steps.
Start by choosing a dry, sunny day to harvest—this minimizes soil sticking to the tubers and speeds up drying. Avoid harvesting after rain, as wet soil can damage delicate skins. I always wait until the soil surface feels dry to the touch, usually 3-4 days after rainfall.
This small window makes all the difference in keeping your harvest intact. The goal is to extract those slender tubers without a single scratch.
Now, let’s dive into the step-by-step process to ensure you harvest your fingerlings like a pro. Follow these 5 essential steps, and you’ll protect both your tubers and your hard work.
Step-by-Step Guide to Harvesting Fingerling Potatoes
- Step 1: Loosen the Soil
Use a garden fork or trowel to gently score the soil around the plant in a circular motion, about 6 inches away from the stem. This prevents tearing the tubers as you dig deeper. - Step 2: Lift with Care
Grasp the plant’s foliage base and lift straight up, allowing the soil to fall away naturally. Never pull from the stems—this can snap fragile tubers. - Step 3: Brush Off Soil
Shake off excess dirt, then use your hands or a soft brush to remove remaining soil. Avoid water pressure—it can force dirt into cuts and bruises. - Step 4: Cure the Tubers
Spread fingerlings in a single layer on a tray or mesh screen in a warm, dark place (60-70°F) for 5-7 days. This toughens skins and improves storage life. - Step 5: Store Properly
Once cured, store in a cool (40-50°F), dark place with high humidity. A ventilated basket or cardboard box works perfectly.
After harvesting, curing is non-negotiable—it’s the secret to longer shelf life. I’ve seen fingerlings last 2-3 months in ideal conditions, but skipping this step can cut that time in half. The curing process thickens the skin, making tubers more resistant to disease and moisture loss.
Think of it as a natural protective layer, just like how your skin toughens after a sunburn.
When storing, avoid plastic bags—they trap moisture and speed up spoilage. Instead, opt for breathable containers like burlap sacks or wooden crates. I’ve even used old pillowcases lined with newspaper for small batches.
The key is circulation—never stack tubers tightly, as this creates pressure points that bruise over time. A little airflow goes a long way in preserving that fresh-harvest flavor.
Finally, check your stored fingerlings weekly for soft spots or sprouting. Discard any that show signs of rot immediately to prevent it from spreading. With these steps, you’ll enjoy homegrown fingerlings that taste like summer long after the growing season ends. Happy harvesting! 🥔